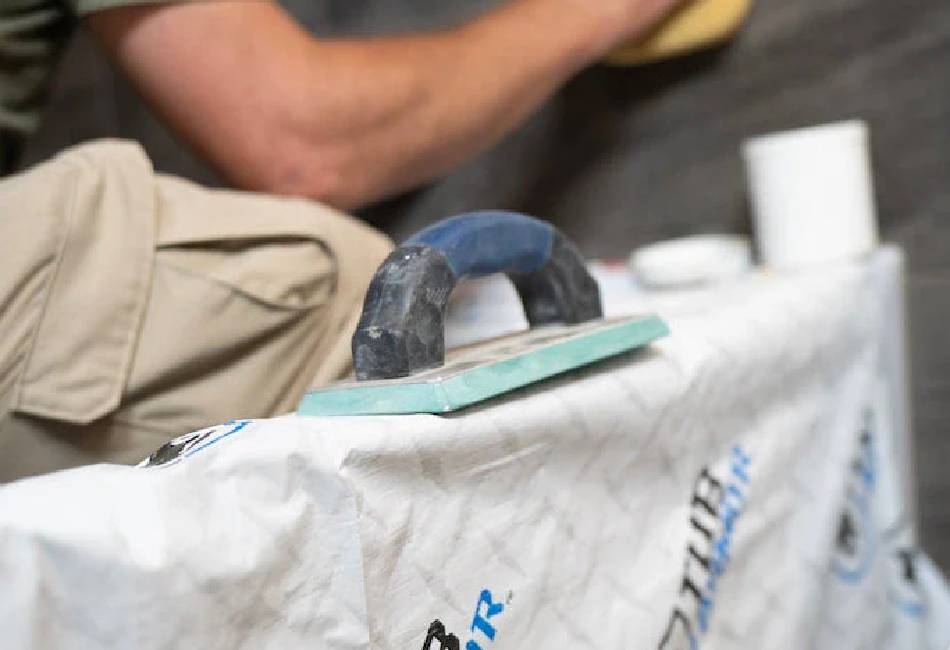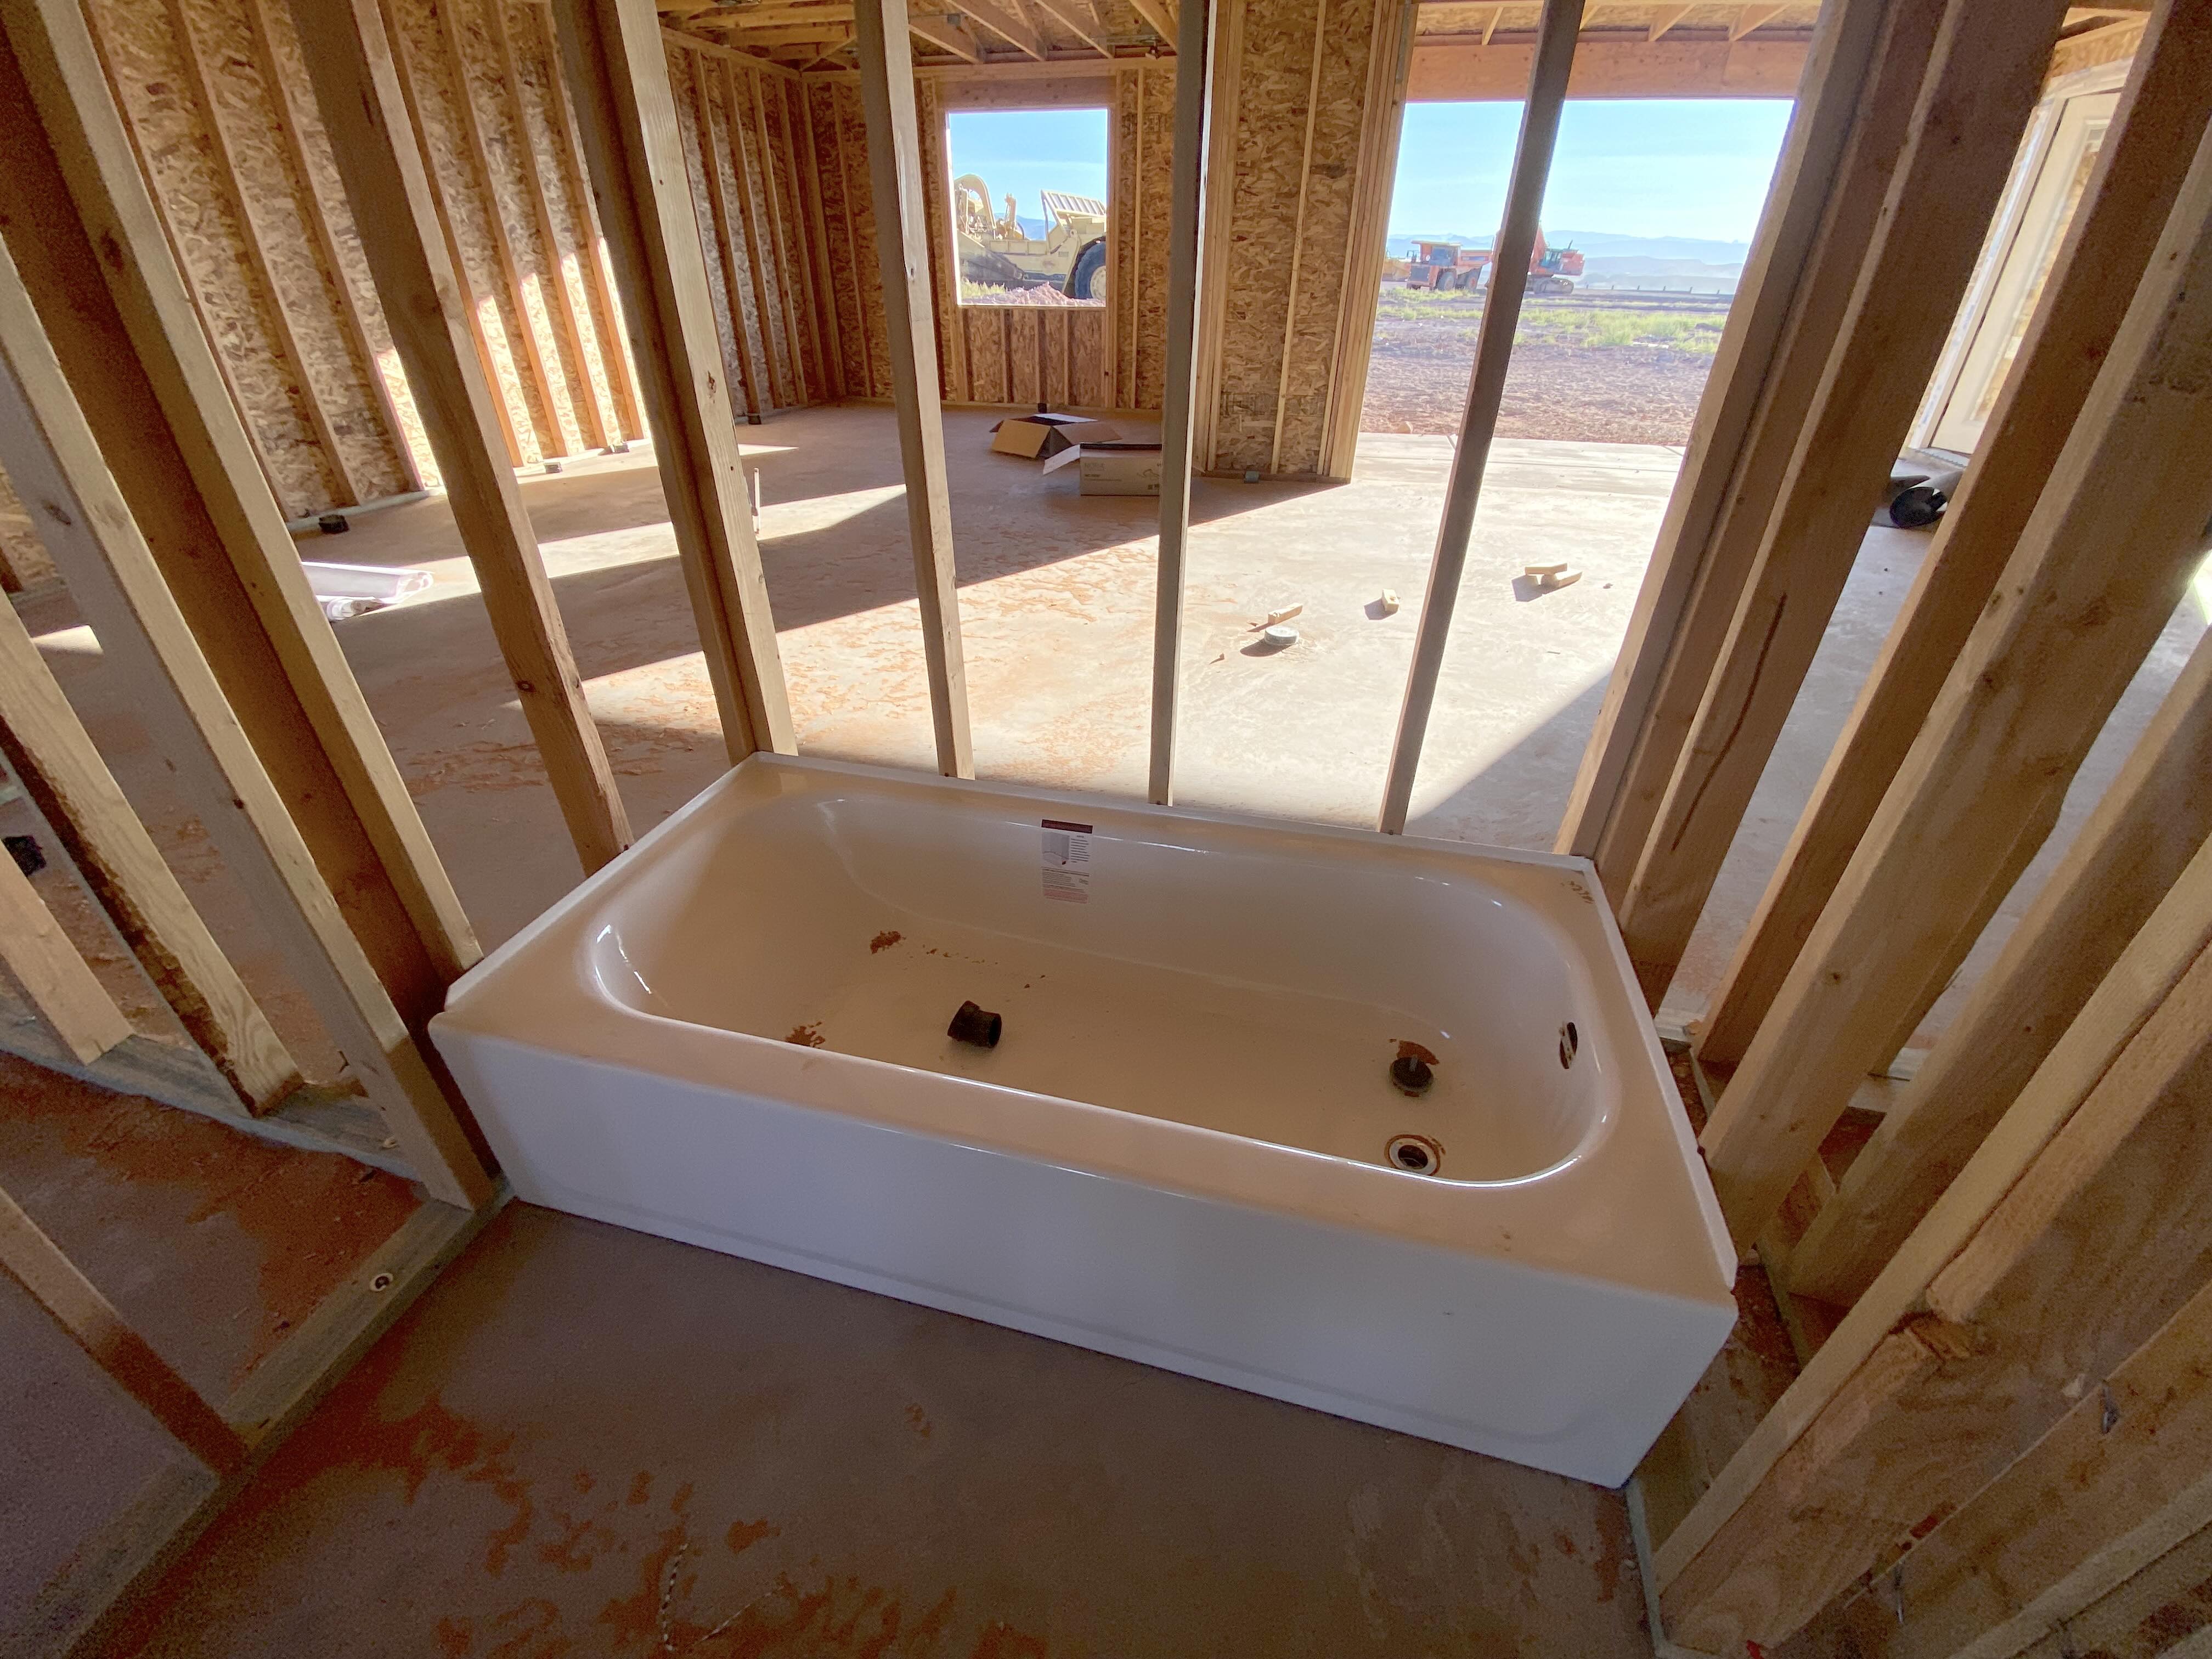
In construction, bathtubs play a crucial role. Research indicates that approximately 70% of bathtubs and shower pans sustain damage during renovations, underscoring the need for effective protective measures. Often installed before drywall and flooring in multi-family developments or preserved during residential bathroom renovations, these fixtures are central to many trades that operate throughout the construction timeline. Therefore, protecting them from potential damage during the process is vital.
You can find various products in the market for shielding bathtubs, safeguarding your central part of the bathroom effectively. The most prevailing and functional products include:
- 30x60 Tub Combo REUSE Kit
- 30x60 Standard Tub Armor
- 36x60 Wide & Deep Tub Armor
- 36x60 Tub Combo REUSE Kit
- Bulk Armor Tape 2.83”x196.85’
- Armor Tape- 2.83” X 32.8’
Keep reading this blog to learn how to protect your bathtubs according to their installation requirements.
The Importance of Bathtub Protection During Construction
Protecting bathtubs throughout the construction process is essential for several reasons:
Vulnerability Due to Early Installation: Bathtubs are often one of the first finishes to be installed, making them vulnerable to damage from subsequent work.
Common Hazards: During construction, hazards such as loose materials, falling tools, and rusting nails can pose risks, potentially leading to scratching, chipping, dings, and staining, which can diminish the tub’s appearance and functionality.
Financial Implications: The costs associated with repairing damaged tubs extend beyond immediate repair bills; they can impact overall project budgets and timelines.
Exploring Bathtub Varieties and Their Installation Needs
Before diving into the topic of tiling, it’s crucial to familiarize yourself with the different types of bathtubs and the unique installation requirements they entail:
Corner Bathtubs
Corner tubs are specifically designed for corner placement and may have different tiling requirements based on the model and installation technique.
Alcove Bathtubs
Designed to fit snugly into a three-sided alcove, alcove tubs feature one finished side. These installations necessitate a solid, level base rather than tiling beneath, ensuring stability.
Freestanding Bathtubs
Freestanding tubs, including those with clawfoot designs, stand on their own and can be positioned anywhere within the bathroom. The choice to tile underneath largely hinges on personal taste and practical factors.
Drop-In Bathtubs
Like alcove tubs, drop-in models are placed into a pre-made deck or platform. Typically, tiling underneath is neither required nor advisable for these types of tubs.
Understanding these bathtub varieties and their specific installation criteria can significantly influence renovation decisions.
Effective Strategies for Tub Protection During Tile Remodeling
Safeguarding the bathtub during a tile remodel is essential, and there are several effective methods to achieve this:
Apply a Protective Covering
Begin by thoroughly wiping the tub’s surface to eliminate dust or debris from construction. Once it’s dry, shield the tub with a protective covering. A heavy-duty drop cloth or a fitted furniture pad works well; ensure it conforms to the tub’s shape and is securely taped around the edges to prevent debris from slipping underneath.
Utilize Heavy-Duty Cardboard Shields
Consider using specially designed heavy-duty cardboard shields to fully encompass the tub, covering the top and front surfaces. These protective units are often durable enough to be reused for future projects, making them a practical choice.
Experiment with Liquid Protection
Another option is to use liquid protective coatings that guard against thin-set mortars and grouts. These coatings can be applied using a roller, spray, or brush, creating a strong barrier once dried. To protect the tub’s non-slip surface, rub a soap bar on those areas before applying the coating. This technique ensures that the coating won’t adhere too firmly, allowing for easy removal after the installation.
Armour Multi-Use Protection Tape
Armour Multi-Use Protection Tape offers robust defense against scratches, scuffs, and dust accumulation. Specifically designed to cover the outer edges and sides of bathtubs, this tape provides reliable protection during construction. It is an economical and efficient solution and peels away easily, ensuring that surfaces remain ready for the next steps.
Optimal Tiling Practices for Various Bathtub Types
Alcove and Drop-In Tubs
- Avoid tiling beneath these tubs.
- Ensure the subfloor is level and stable.
- Use support feet or mortar bed per manufacturer guidelines.
- Seal the ends where the tub contacts the deck or walls effectively.
Freestanding Tubs
If Tiling Underneath:
- Prepare and waterproof the subfloor adequately.
- Utilize high-quality thin-set mortar designed for wet areas.
- Implement a waterproof membrane for enhanced protection.
- Seal all edges and grout lines properly.
If Not Tiling Underneath:
- Ensure the floor is stable and level.
- Use manufacturer-recommended support feet or a mortar bed.
- Consider adding a waterproof mat or membrane beneath the tub.
Refer to the Tile Council of North America (TCNA) for comprehensive wet area tile installation guidelines to aid in your project planning.
Final Thoughts: Choosing Wisely for Your Bathroom Renovation
Deciding whether to tile beneath your bathtub involves several key considerations, such as the tub type, design preferences, budget constraints, and maintenance needs over time.
Always seek professional advice, follow manufacturer recommendations, and comply with local building regulations throughout your renovation. To get the best outcome, you can use Tub Armor’s products to achieve a stunning bathroom that fulfills your style and functionality requirements.


